First Steps
Table of Contents
- Setting Up Content Libraries
- Configuring Scan Options
- Initiating Scan
Setting Up Content Libraries
- Open your Stash.
- Go to
Settings > Library and click Add Directory. - To change the drive letter/volume, just type it in the field.

- Select the folder containing the content you want to add. It will select the folder and all sub-folders.
- Click
Confirm.
Configuring Scan Options
- Open your Stash.
- Go to
Settings > Tasks. 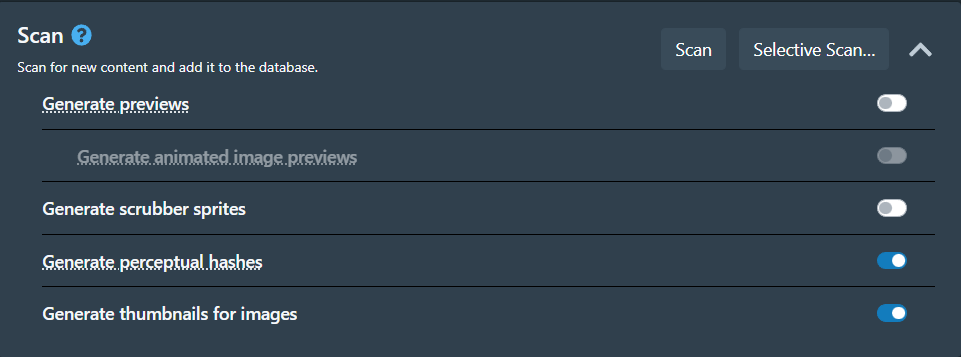
| Option | Description |
| Generate previews | Generates video previews which play when hovering over a scene. |
| Generate animated image previews | Generates animated webp previews. Only required if the Preview Type is set to Animated Image. Requires Generate previews to be enabled. |
| Generate scrubber sprites | Generates sprites for the scene scrubber. |
| Generate perceptual hashes | Generates perceptual hashes for scene deduplication and identification. |
| Generate thumbnails for images | Generates thumbnails for image files. |
- Select options you want based on your preferences, but every option increases time the scan will take.
- You can stop and re-scan it will ignore the files that are already scanned and just scan new or missing files.
Initiating Scan
- Open your Stash.
- Go to
Settings > Tasks. - Click
Scan to start scanning for the content from your setup libraries or Selective Scan... if you want to scan a specific location.